
Lets see how to program (read/write) ATMEGA8-16PU with Arduino Uno without external oscillator, resistors or capacitors.
- You need to install Arduino IDE software. https://www.arduino.cc/en/software
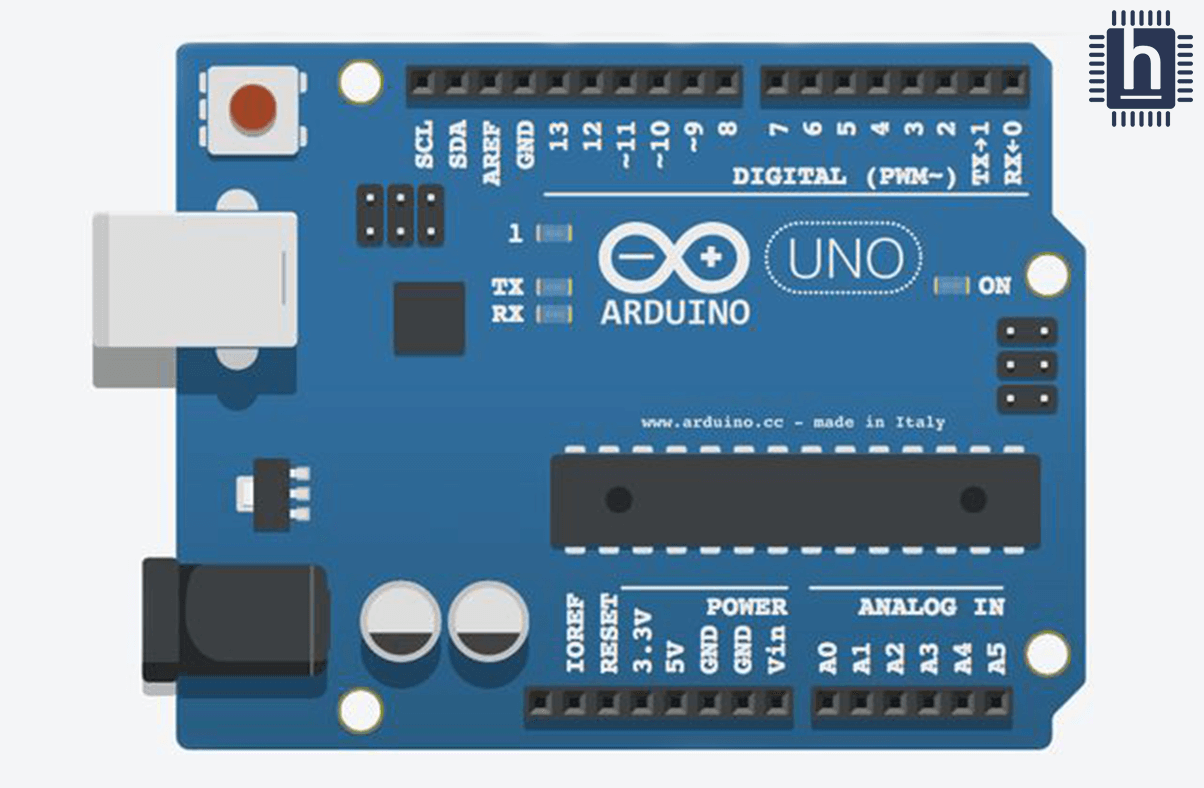
- Connect Arduino Uno to your PC, see from device manager what COM port number is taking. (COM3 to our computer)

3. Open Arduino IDE software and select from File->Examples->11.ArduinoISP->ArduinoISP and a new window appears.

4. In the new window select your programmer Arduino Uno.

Make sure those 2 below are selected
Tools->Boards->Arduino AVR Boards->Arduino Uno
Tools->Ports->COM 3 (the one we found in device manager in step 1)

5. Click the upload button and now your Arduino Uno is a ISP programmer.

6. Now lets connect the Arduino Uno with the ATMEGA8-16PU to program it. Please connect it according to this diagram.


7. Download avrdudess program. https://github.com/ahmadlogs/avrdudess
This program is very tricky and you must follow this instructions step by step to read/write correct the ATMEGA8.
a. Open the program avrdudess and select Programmer -> Arduino and press the button Detect (no change anything else)
it will show error about the com port

b. select the correct com port (3 for our computer) and click Detect button again
it will detect the chip on Arduino uno and not the correct ATMEGA8

c. Close the program avrdudess and disconect from usb the arduino uno.
Connect again the arduino uno and go to device manager to change the bit rate from 9600 (default) to 19200

open again the program avrdudess and select Presets Arduino as ISP and click button Detect
again it will show again error about the com port

now select all the correct values Programmer-> Arduino, Port->COM3, Baud rate-> 19200, Presets->Arduino as ISP and click the Detect button
now it will read correct the ATMEGA8

8. To read the program from the ATMEGA8 select FLASH READ, Format->Intel HEX, click Browse to give a name to your readed file for example READ.HEX and click the GO button

9. To write the ATMEGA8 select the HEX file you want to write , select Flash Write and click the Go Button

Thank you for reading, you can find to our shop both ATMEL microcontrollers https://www.easytechnology.gr/index.php?main_page=advanced_search_result&keyword=atmega8&&search_in_description=1
and Arduino Uno programmer https://www.easytechnology.gr/electronics/atmel-arduino/arduino-uno-r3-official-board-rev-3-sense-and-control-leds-robots-electronics .